Here is a step-by-step tutorial to setting up a naturalistic enclosure for your beloved pet frogs!
This is ideal for either White’s Tree Frogs or Amazon Milk Frogs.
For this setup we are going to be using the Repti-Zoo 30 gallon terrarium.
This is what it looks like empty and assembled:
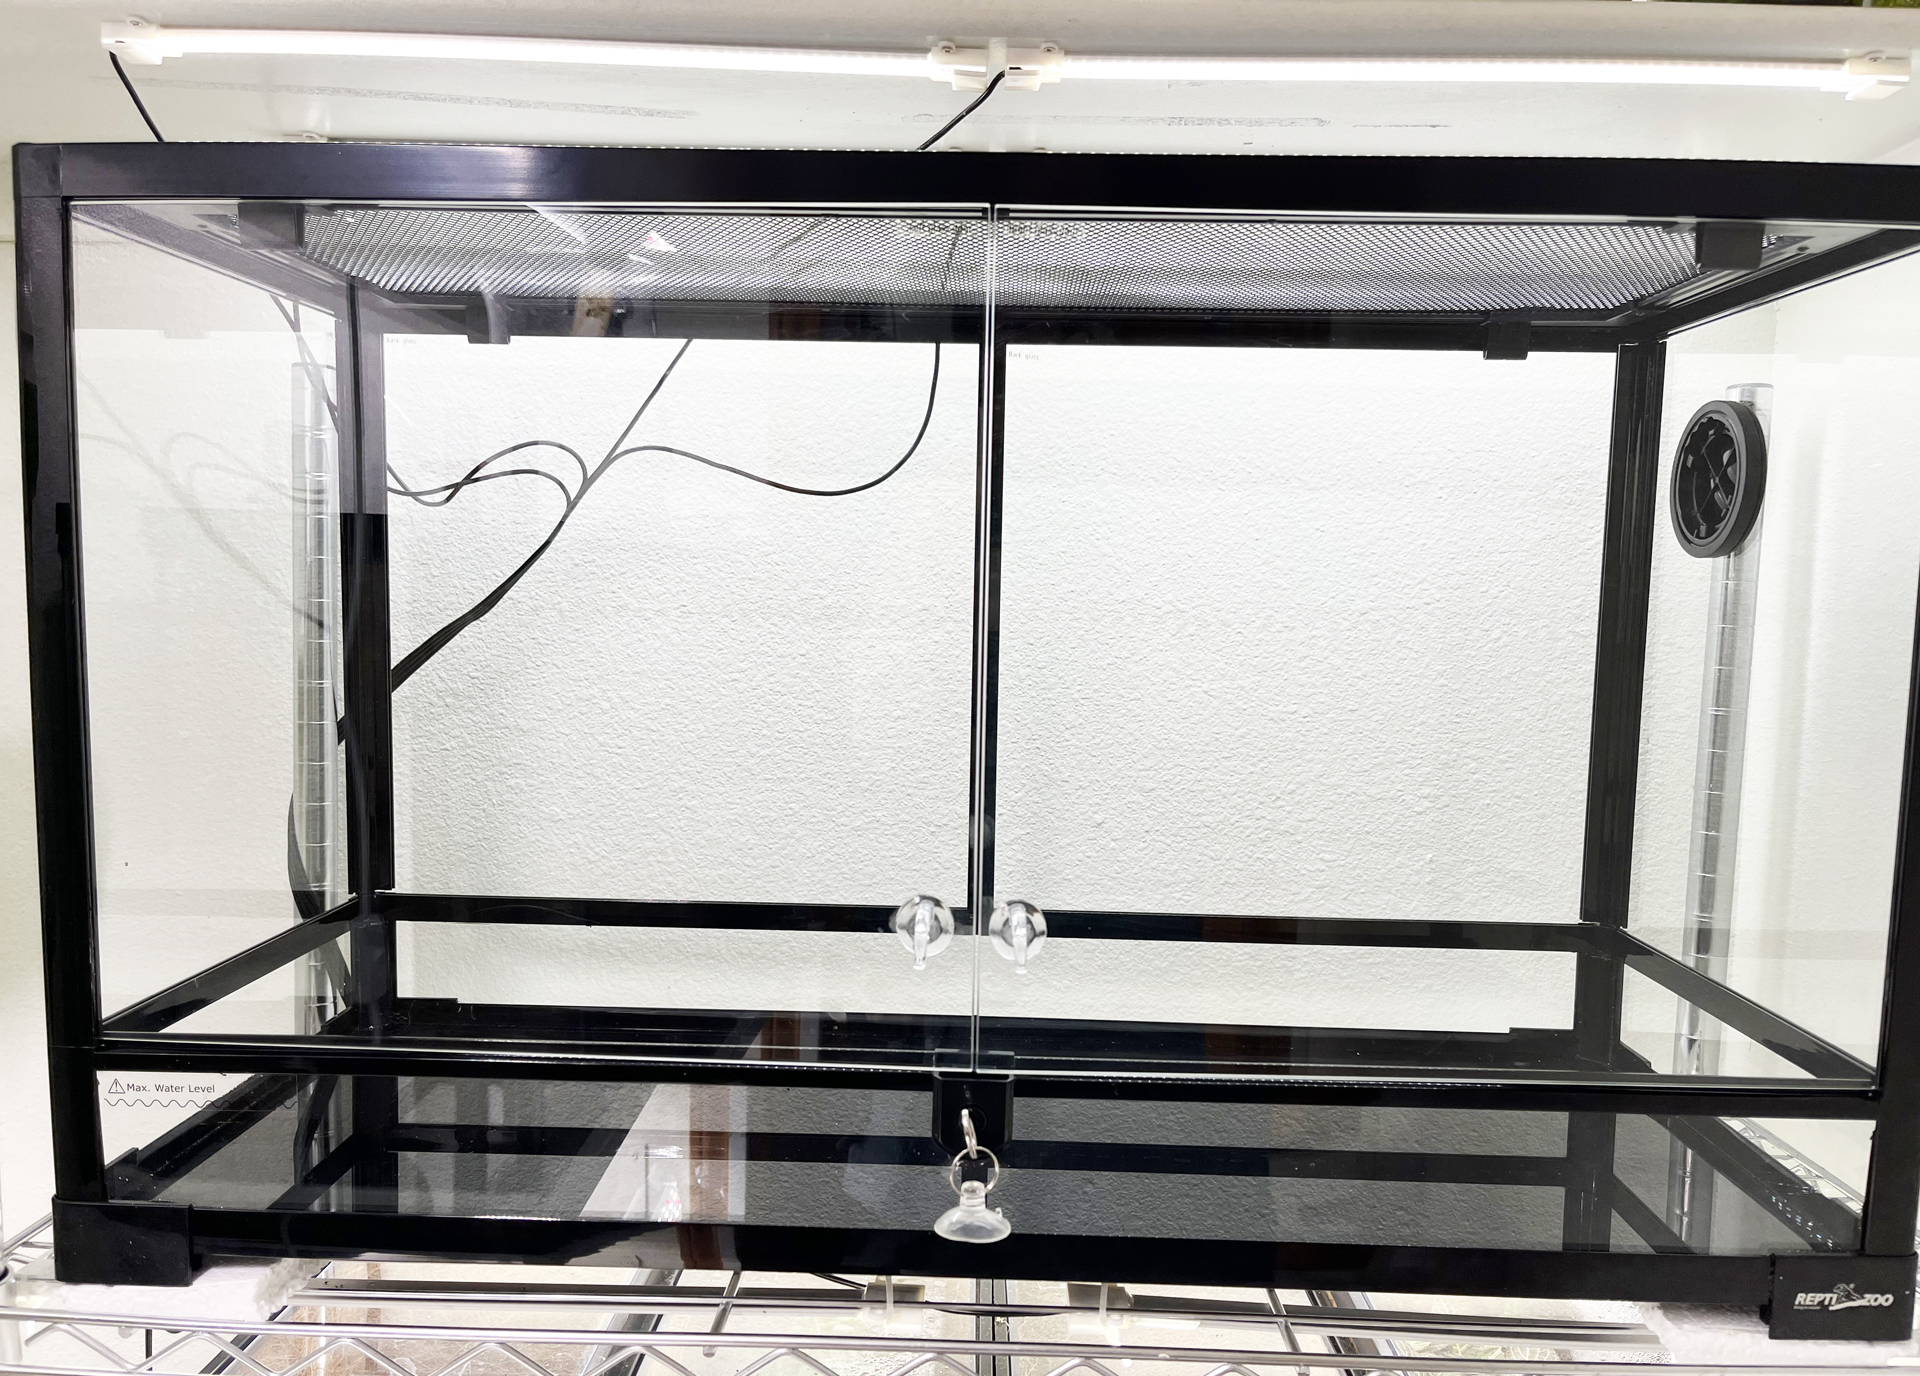
*Make sure that your shelf is designed to bear the weight of the terrarium!*
The assembly of the unit is straightforward, it took about 3 hours.
Things we like about it:
- Secure (removeable) screen lid
- Heavy duty unit is well made
- Has openings for electrical cords
- Holds water in the bottom
- Easy opening/closing with key and lock
- Suitable for a variety of frog species
1. Layout Configuration
The first step after assembly is to figure out the layout of the plants and decorations.

Once you have a general idea of how you want the tank to look…
… It’s time to take it all back out and add the base layer.
2. Install Drainage Layer
For this setup we are using 1 inch of cheap landscaping granite gravel for the drainage layer.
You can find a 25 pound bag of this at Home Depot for around $4.
DO NOT SKIP THIS!
This drainage layer is essential to keep the terrarium from becoming overly wet and prevent root rot in plants.
Also, the drainage layer protects frogs from having a substrate that is too soggy.
3. Install Substrate Barrier
Once the gravel is in, it is time to add a substrate barrier.
The substrate barrier will stop the soil mixture from falling through the rocks and creating a soggy mess.
Like most of our terrariums, in this case we are using latex coated coco fiber mat.
The vegetable-based latex helps prevent the mat from breaking down.
Be sure when you purchase it that it will be big enough to cover the bottom of the tank you are getting.
Cut the mat to fit the bottom footprint of the tank, then lay it on top of the gravel.
4. Add Substrate Mix
Once the mat is in place, we can add the substrate.
For this we are using a blend similar to ADG mix.
This recipe consists roughly of:
- 1 part sphagnum moss
- 2 parts organic potting mix
- 2 parts organic tomato garden soil
- 2 parts reed sedge peat/sand mix
Fill the soil up to no higher than the top of the glass base in the front.
(It’s okay if it’s higher in the back.)
We just don’t want a dirt avalanche when opening the front doors 🙂
5. Plant Your Plants
After a good amount of soil is added, unpot the plants and arrange them in the terrarium.
Try to get around a half an inch of substrate in between the root ball and the coco mat.
We like to try to place taller growing plants in the back and shorter ones in the front.
Here is a list of some good species (and what was used in this setup):
- Monstera “Swiss Cheese”
- Peperomia “Watermelon”
- Peperomia obtusifolia or “baby rubber plant”
- Peperomia “Pixie Lime”
- Dracaena compacta
6. Top the Substrate
Once the plants and decor are in place, it is time to top the substrate with a layer of leaf litter and water-retaining debris.
Pieces of whole sphagnum moss and broken almond leaves are a great option.
(Remember that any materials you collect from nature, if you are doing so, must be sterilized first by boiling.)
Stuff the moss around the base of the plants.
7. Add Clean-up Crew
Once the plants and decor is in, you can add your isopods/cleanup crew.
Clean-up crews are what enable your terrarium, after a bit of time to establish, to not require frequent cleaning.
As the name implies…
… They break down the frog’s waste.
In this setup we are using blond rubber ducky isopods because they are just adorable and like a more humid setup which is going to be for our Amazon Milk Frogs.

For White’s Tree Frogs, our clean-up crew of choice is a mix of dairy cow/powdered orange isopods and springtails.
Springtails are very important in a clean-up crew, so don’t skip this step!
Springtails are tiny but mighty!
8. Water it in & Enjoy
The last step in set up is to moderately water your terrarium plants and substrate with dechlorinated water to give it some moisture.
You can add frogs right away, or you may choose to wait a week or so to give the clean-up crew more time to populate.
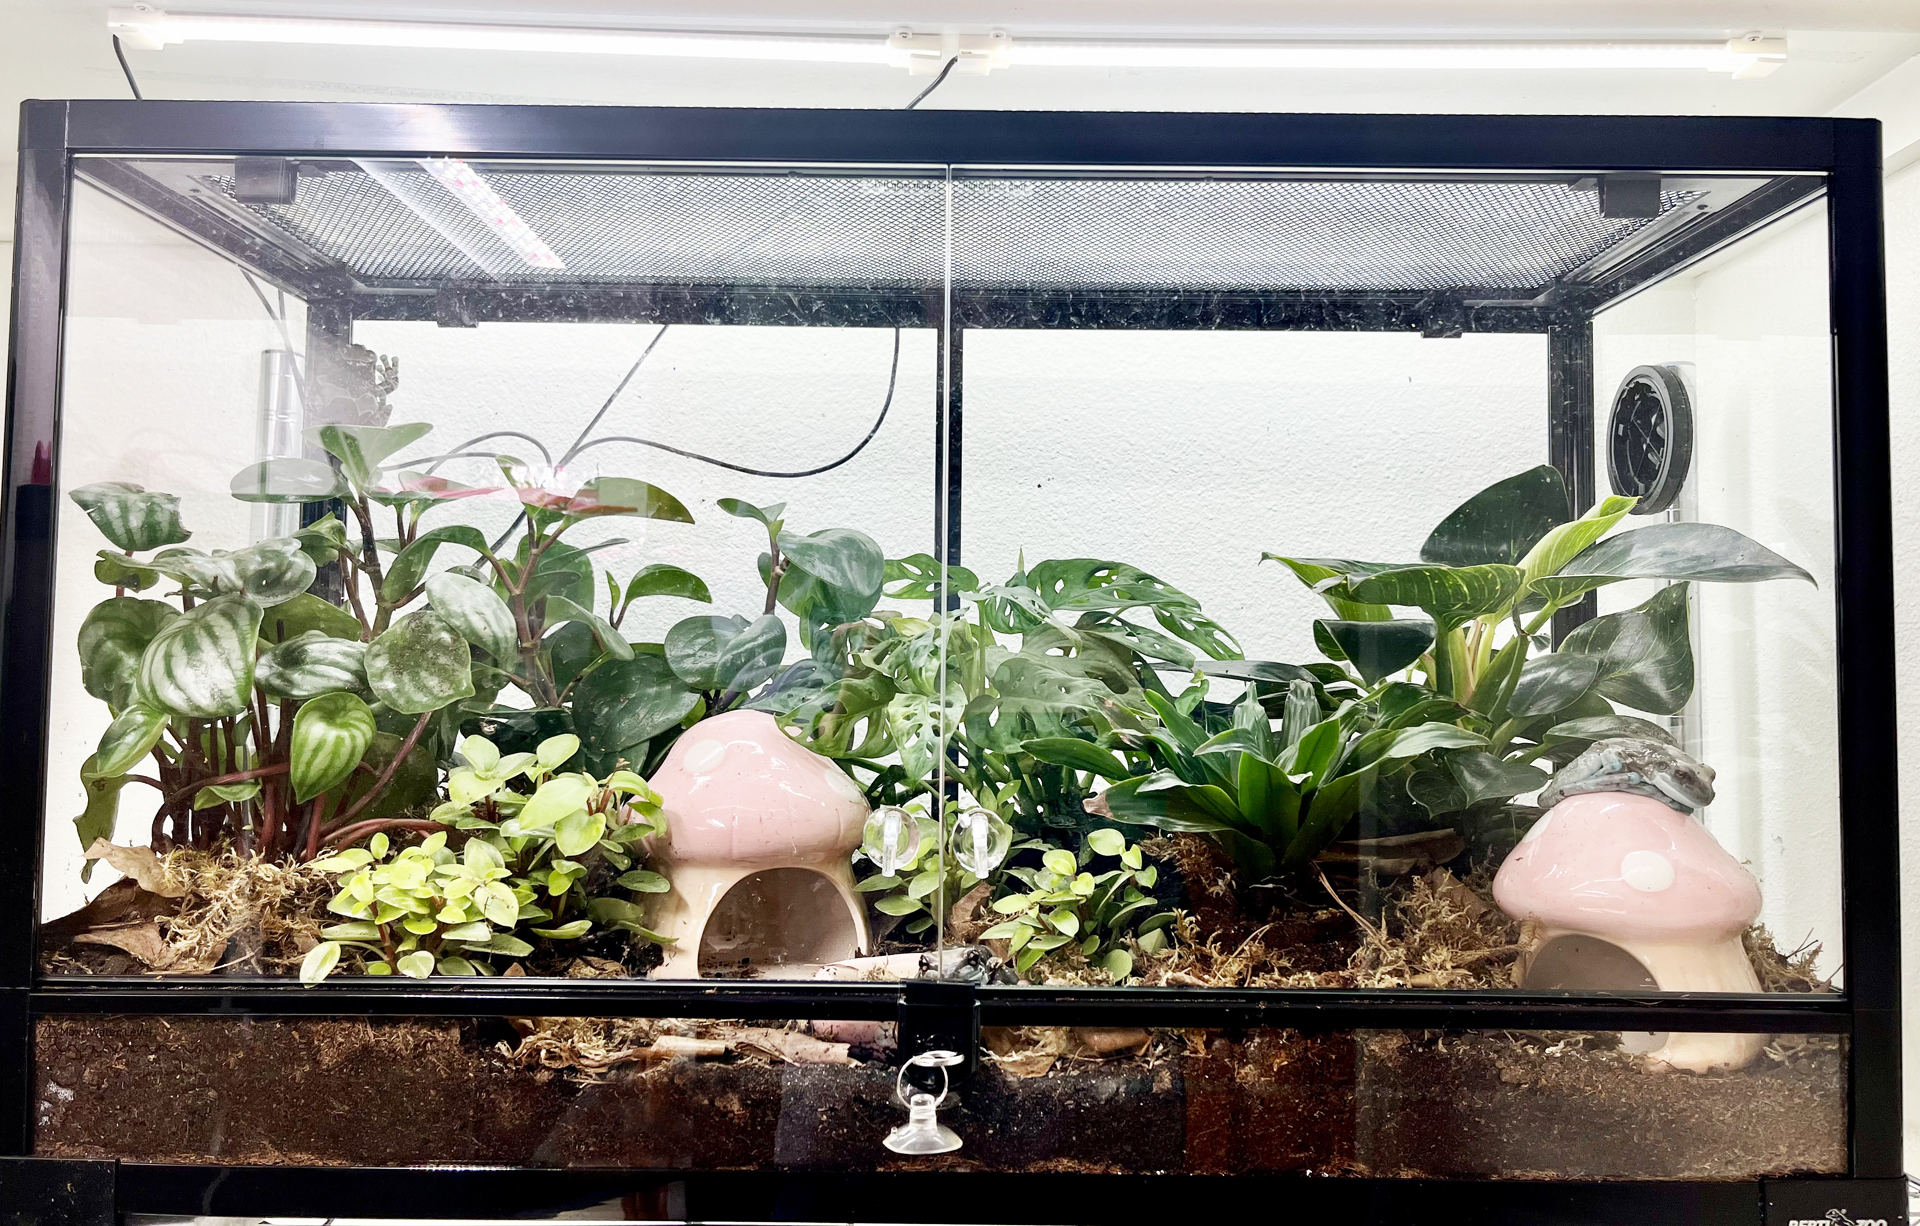
This setup is now home to our lovely Amazon Milk Frogs!
Thank you for reading, and hope you enjoyed the post!
