
5 Ways You Can Get the Most Out of Your GorillaPod

Here are a few different ways the GorillaPod can help you capture those elusive shots when nothing else at hand seems to work.
Top image via Cinecom.net.
The GorillaPod has been around for a few years, and it has risen in popularity thanks to big-time vloggers like Casey Neistat working with the tripod on a daily basis. This piece of equipment is cheap, reliable, and extremely versatile for any up-and-coming filmmaker or daily vlogger. Perhaps the best feature about the tripod is its shape-shifting capability.
These different ways of using the GorillaPod are great if you have a small DSLR or mirrorless camera setup. I’m sure this might seem obvious, but do not put your giant telephoto on the camera while using this. It will tip over. It will give you a mini heart attack. I do not recommend doing this.
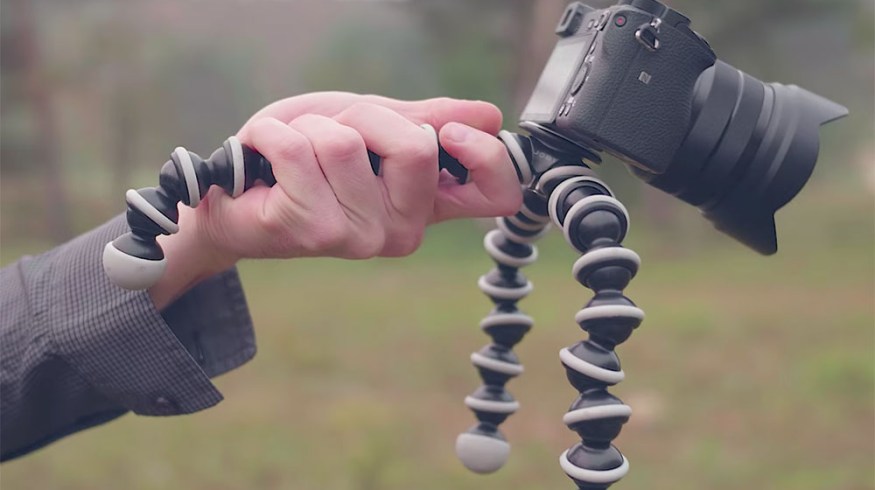
1. Creating a Jib
Obviously, this is not a traditional jib that gives you the freedom to control your camera angle any way you’d like. But what else do you want from a moving shot other than controlled stabilization? Even if you’re only moving about a foot, this move is perfect if you’re ever shooting small products for a corporate client. The movement will give the shot some life in what can be an otherwise boring video. Jordy from Cinecom recommends rolling the camera angle with the last knob closest to the camera, using your thumb.
2. Mini Steadicam
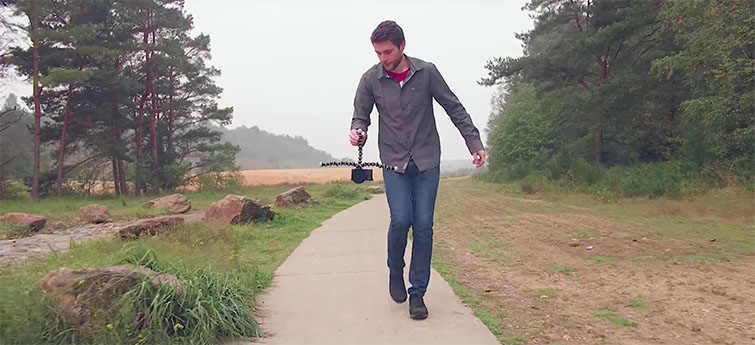
While it might seem counterproductive, flip your GorillaPod upside down, stretch two arms to the side, and hold on to the middle leg. For walking shots, this will provide decent stabilization, with the two legs acting as counterweights to minimize shakiness. Naturally, the footage will be upside down, so flip it right-side up in post-production by using the Rotation tool, and throw on some warp stabilizer (because why not).
3. Going Hands Free
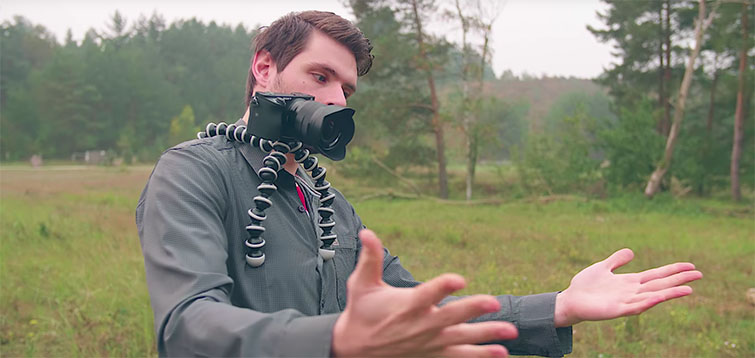
For your POV shots, consider just bending the back leg across your back and let the front legs rest on your chest. This might seem a little precarious, and it is. But just make sure to tuck the back leg into your clothes so it won’t slip out. I wouldn’t recommend running or doing any action-based recording like this. Rather, this is perfect for anybody without access to a GoPro — or if you’re shooting with a big rig and need a quick mirrorless camera shot.
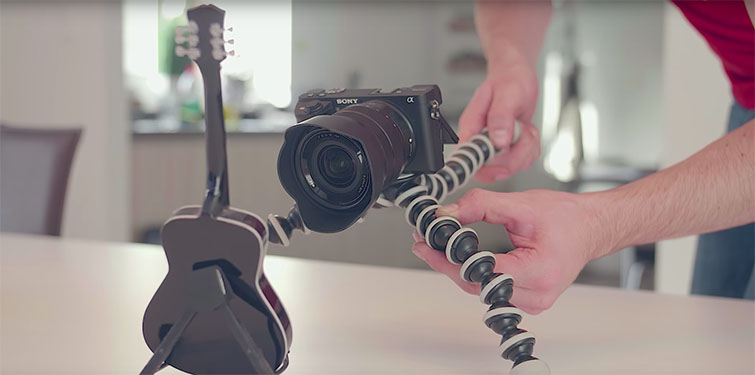
4. Wrap It Up
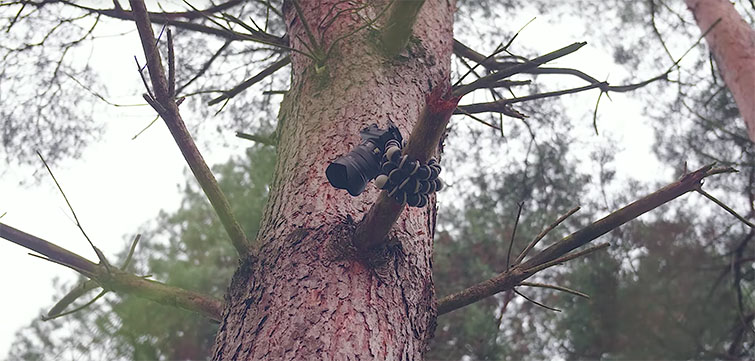
The most effective and practical way to use a GorillaPod is by playing with the legs as they were meant to played with. Wrap them around everything — tree limbs, poles, lamps, anything! You can now get those weird Breaking Bad–type shots up in the rafters or on the side of your car. The best part about owning a GorillaPod is playing around with it because you never know what type of shot you can get. In the Cinecom video, Jordy wraps it around a branch, then holds the branch to create a makeshift drone shot.
5. Ditch the Camera
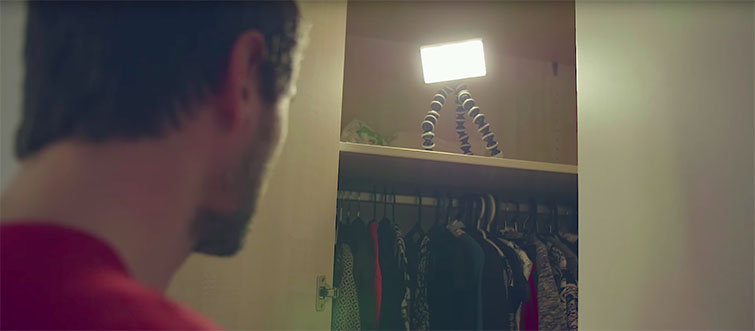
The last least obvious way to use your GorillaPod is to not attach your camera to it. You can use the tripod to mount a light or microphone so you can work in a small area with limited access. Alternatively, you could use the device to hold a microphone next to you while you record a tutorial or stream gameplay on Twitch. The possibilities are endless with this wonderful, little device.
Here are a few other ways to pull off seemingly impossible camera moves on a tight budget:


