
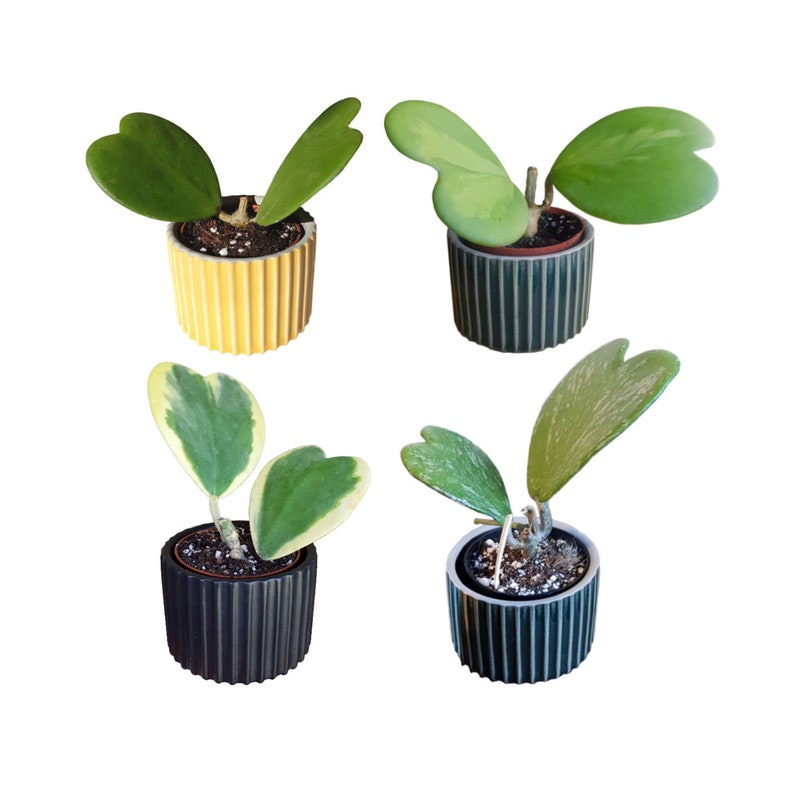
Hoya Kerrii a.k.a. the Sweetheart Hoya is a popular houseplant because of its hardy succulent-like heart shaped leaves. It is often sold during Valentine’s Day as a single leaf that’s rooted, but while it makes for a wonderful Valentine’s gift, it will not grow into a full plant.
A Hoya Kerrii propagation needs a stem with its cutting to be able to grow new stems and leaves. If you want a sweetheart hoya that will grow and not just be a single leaf, then make sure you purchase a hoya kerrii plant that has a stem, even if it currently just has a leaf or two in the pot.
Plant Care
Care for hoya kerrii is similar to caring for a succulent: it needs bright light and infrequent watering. Water your hoya kerrii every three to four weeks, more frequently if exposed to higher amount of light and if the plant is smaller. Be sure the soil is completely dry before watering to avoid root rot and the leaves getting soft and mushy. Its hardy leaves retain water like succulent does, so it can survive a bit of a drought.
Hoyas prefer a “sweeter soil”, so you can add crushed eggshells to your hoya kerri’s soil mix, which will also act as a fertilizer. Feeding your sweetheart hoya a regular plant food liquid fertilizer monthly more than suffices.
Hoyas in general do not like to be repotted and actual are epiphytic plants, so if your hoya kerri shows no signs of in need of repotting, then it’s best to leave your hoya kerri in its current soil and pot. If repotting, make sure to use a very well draining potting mix, like an orchid bark mix or a cacti mix.

If you are ready to share the love and propagate your hoya kerrii, here are three different methods you can try:
Ziploc Method
The Ziploc or plastic bag method is probably the most popular method to propagate hoyas. What you will need is a ziploc bad filled with indoor potting soil a third of the way.
But first, check if the potting soil is free from fungus gnats or any pathogens by sterilizing it with hot water. Let the soil drain and cool down afterwards, and then make sure it is moist without being overly saturated before putting it in the ziploc bag.
Stick your hoya kerrii cuttings into the soil. They don’t have to be properly planted, as long as the stem and the bottom third of the leaf cutting is covered in soil.
Once the cuttings are secured, spray the inside of the bag generously and then seal the bag. This will promote and maintain humidity in the ziploc bag, giving it a greenhouse effect which will help speed up the growth of roots.
You do not need to open and check the bag everyday, only add water if the soil is looking dry but should be unnecessary if the bag is properly sealed. Leave the bag close to a bright light source, like by a south-facing window or under a grow light.
Sphagnum Moss
Sphagnum moss is a popular medium for propagating houseplants, especially for growers. I myself have successfully propagated houseplants using this method, and I find roots develop faster compared to water propagation, and have an easier time transitioning propagations to regular potting soil.
Sphagnum moss is an inert material, so unlike regular potting soil, there’s less chances it carrying microbial pathogens. But at the same time, it contains and can hold nutrients that are beneficial for root development of plants like the hoya kerrii.
Before using it for propagation, soak the sphagnum moss for a few minutes. Using hot water will ensure there’s no fungus gnat eggs or any pathogens in them, just let it has cool down before squeezing out the water from the sphagnum moss.
Wrap the moist but not overly saturated sphagnum moss around the nodes of the hoya kerrii cutting, and then pot it up in a clear container like you would potting up any plant in regular soil. Bury up to the bottom third of the leaf cutting to give the plant proper anchor as it grows roots.
Spray the sphagnum moss generously with water if you notice the top getting dry. Watering shouldn’t be necessary, unless you forgot to spray it with water for a long time and the sphagnum moss has dried up.
As long as you don’t oversaturate the sphagnum moss, the leaf won’t rot. To be sure, use a container with drainage holes, but I often propagate with sphagnum moss using clear glass containers with no drainage holes. I can see how much water I am putting in, as well as see the progress of the root growth without having to constantly uproot the propagation.
Passive Hydroponics with Perlite
The third way to propagate Hoya Kerrii is by passive hydroponics using perlite. I choose perlite over leca or vermiculite, which are more popular passive hydroponic mediums. Hoya kerrii roots are more delicate compared to most houseplants, and they will be able to develop and form roots much more easily in perlite, which is lighter and finer than leca or vermiculite and closely mimics the texture of regular potting soil.
However, unlike regular potting soil, perlite is inert – so there’s also little to no chance it contains pathogens and fertilizers, which can harm newly formed roots. Perlite also cannot hold any moisture, so as long as you are not putting too much water in your perlite propagation, there’s little to no chance your hoya kerrii’s nodes and roots will be drowning in water as they develop.
To propagate Hoya Kerrii using passive hydroponics, fill up your potting container – preferably also a clear container so you can check for water level and root growth easily – with perlite. Pot the propagation like you would when potting up a regular plant, and pot it up to the bottom third of the leaf mto give the hoya kerrii proper anchor.
Lastly, fill it with water but only up to the bottom third way up. Perlite is extremely light and will float, so make sure to pour water slowly and carefully to avoid overwatering and run off. Like with the sphagnum moss method, spray water on the perlite when they feel dry to touch and add more water if the water level at the bottom third is going down.
Place your propagation near a bright source of light, just like with the first two methods of propagation.
Substantial roots should develop within the first two weeks to a month, and you can leave them in these media for as long as possible before potting them up in regular potting mix. The ziploc bag will basically act as a terrarium. The propagation can stay in sphagnum moss until the roots are starting to grow out of the drainage holes. For the perlite method, once it has formed substantial roots (main roots with secondary roots growing), nutrients will need to be added if you plan to continue to grow it passive hydroponically.
Where to buy:
You can buy a Hoya Kerrii plant with stems from Houseplantshop.com and use the code 5OFF for a $5 discount, or 10OFF for a 10 percent discount, on your total cost. (not sponsored, I purchased my Hoya Kerri from them last year and I am very happy with my plant, it’s the cheapest place to buy it online, and is the same plant I used in my Hoya Kerri propagation video).
other resources:
