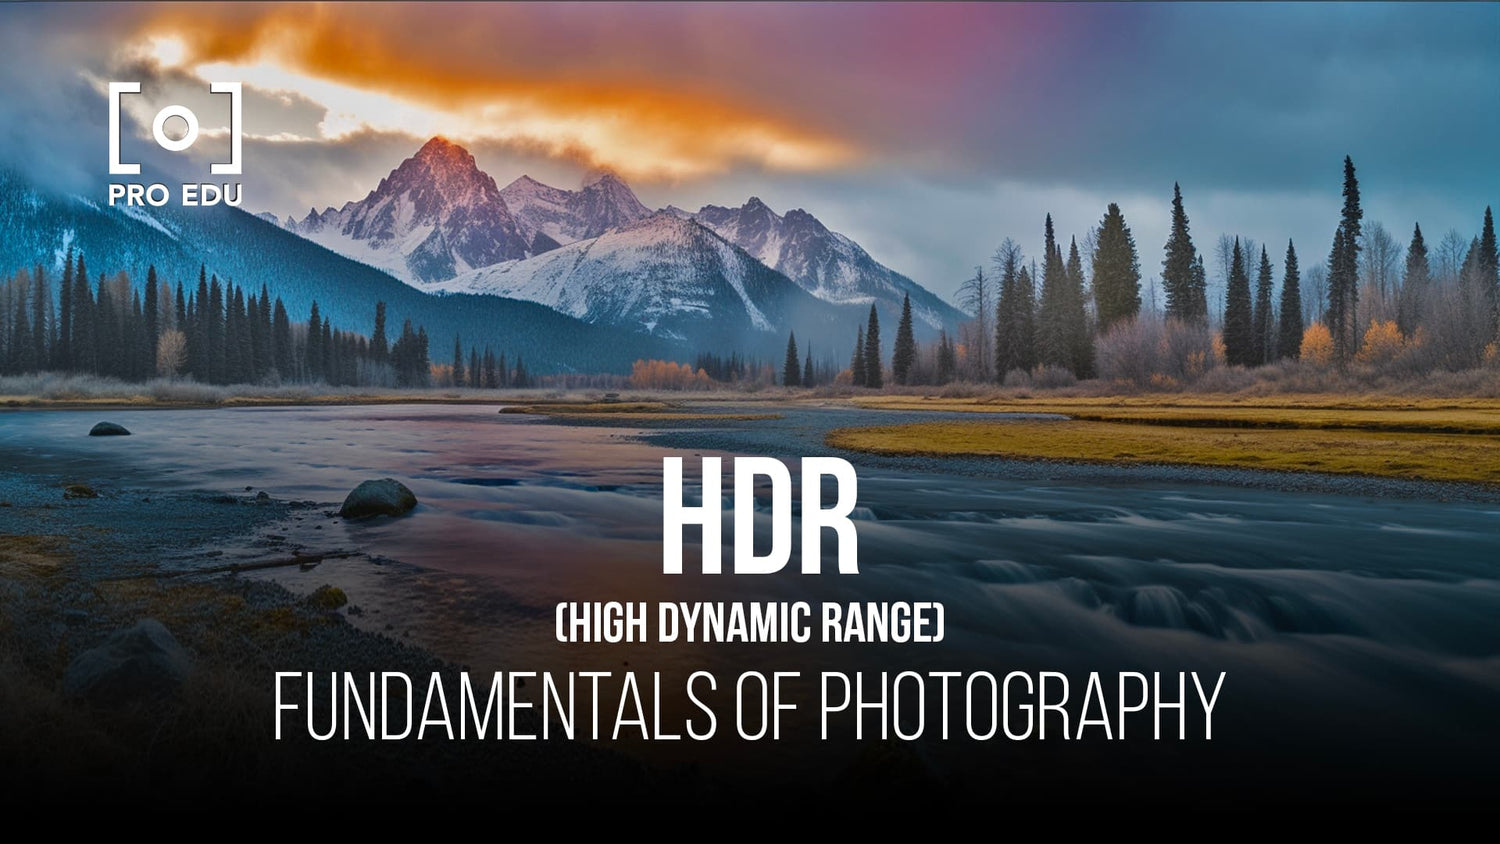
High Dynamic Range (HDR) Photography for Beginners: Essential Tips and Techniques
High Dynamic Range (HDR) Photography is a technique that enables photographers to capture a greater range of light and detail in a single image, by combining multiple exposures of the same scene. This approach is particularly useful when shooting landscapes, architecture, and other scenes with a significant difference in light and dark areas. By mastering the HDR process, beginners can produce stunning images that more accurately reflect the way the human eye perceives a scene.
One of the key aspects of HDR photography is learning how to take multiple shots at different exposures – also known as exposure bracketing. This ensures that you capture the full range of light and detail in your image. Once you have your bracketed shots, you can combine them using post-processing software to create the final HDR image. While HDR photography may initially seem technically challenging, with the right equipment and software, as well as some practice and experimentation, beginners will be able to master this technique and enhance their photographic skills.
Key Takeaways
- HDR photography combines multiple exposures to capture a greater range of light and detail.
- Exposure bracketing and post-processing software are essential when creating HDR images.
- By mastering HDR techniques, beginners can create stunning photos that reflect the way the human eye perceives a scene.
Understanding HDR Photography
HDR photography, or High Dynamic Range photography, is a technique that produces images closely resembling what the human eye sees. By combining multiple exposures of the same scene, it captures greater detail in both shadows and highlights.
Our normal cameras have a limited dynamic range compared to the human eye. This difference can result in photos having too much contrast or losing detail in certain areas. HDR photography addresses this issue by capturing scenes at various exposures and merging them to achieve the perfect balance.
To create an HDR image, you'll need to take a series of photos at different exposures, usually with a camera on a tripod for stability. These exposures are then combined, either in-camera or using post-processing software. Check out HDR Photography Tutorial for a detailed guide.
When shooting HDR images, it's a good idea to use RAW files rather than JPEG, as RAW files capture more dynamic range and color information. This allows for better editing flexibility when merging the exposures. You can find more information about the advantages of RAW here.
In summary, HDR photography is a powerful technique for beginners and professionals alike, as it helps bring out the true beauty of a scene by closely mimicking what the human eye perceives. By using multiple exposures and carefully merging them, you can create stunning images with a high dynamic range that stands out from standard photography.
Basic Techniques in HDR Photography
To begin with HDR photography, we need to understand exposure bracketing. It involves taking multiple exposures of a scene with varying shutter speeds, resulting in different brightness levels. This allows us to capture details in both shadows and highlights.
First, set your camera to manual mode for full control over shutter speed, aperture, and ISO. Ensure your camera is mounted on a tripod for stability. This is crucial since we'll be capturing several shots of the same scene with varying exposure levels. The aperture should remain constant while we adjust the shutter speeds.
- Set the ISO to the lowest possible value
- Determine the correct exposure for the scene
- Adjust the shutter speed two stops below and above the correct exposure
For example, if our correct exposure has a shutter speed of 1/60, our bracketed exposures would be:
| Shutter Speed | -2 Stops | 0 Stops | +2 Stops |
|---|---|---|---|
| 1/240 | 1/60 | 1/15 |
Once you've taken your bracketed photos, the next step is to combine them using HDR software, such as Lightroom or Photoshop. The software will blend the photos, balancing the highlights and shadows to create a single, well-exposed image with a high dynamic range.
In conclusion, HDR photography is a technique that combines multiple exposures to achieve a balanced image, capturing details in highlights and shadows by using manual mode, exposure bracketing, and HDR software for post-processing. With these basic techniques, you can begin experimenting with HDR photography and produce stunning, well-balanced images.
Equipment and Software for HDR Photography
When starting with HDR photography, it's essential to have the right equipment and software. A camera with manual settings is crucial, as it allows for greater control over exposure settings. In most cases, a DSLR or mirrorless camera would be ideal, but some advanced compact digital cameras and even smartphones have HDR capabilities.
A tripod is necessary for HDR photography because it helps to stabilize the camera and avoid camera shake. This ensures that your multiple exposure shots align properly, which is vital for creating an HDR image with clear details and no ghosting artifacts.
The lens you choose can also impact your HDR photography. While most lenses can be used, we recommend using a wide-angle lens as they provide a broader field of view, especially when shooting landscape and architecture scenes.
For HDR photography software, there are several options available, each with its pros and cons. Adobe Photoshop and Lightroom have built-in HDR merging tools that work well for most users, but they can be limited in terms of creative options. If you're seeking more robust capabilities, Photomatix is a popular standalone HDR software that offers advanced features and greater creative control.
Another option to consider is Luminar Neo (formerly Aurora), which is seen in these best HDR software options for photographers in 2023. Luminar Neo seamlessly merges bracketed exposures and can produce both realistic and dramatic results.
Don't forget that many smartphones now come with built-in HDR tools. While not as powerful as dedicated software, these can still produce impressive results for those just getting started or seeking a more casual approach to HDR photography.
In conclusion, having the right equipment and software is crucial for a successful HDR photography experience. Experiment with different tools and techniques to find what works best for you and your creative vision
Capturing the Perfect HDR Shot
https://www.youtube.com/watch?v=vKHJdstcGVk&embed=true
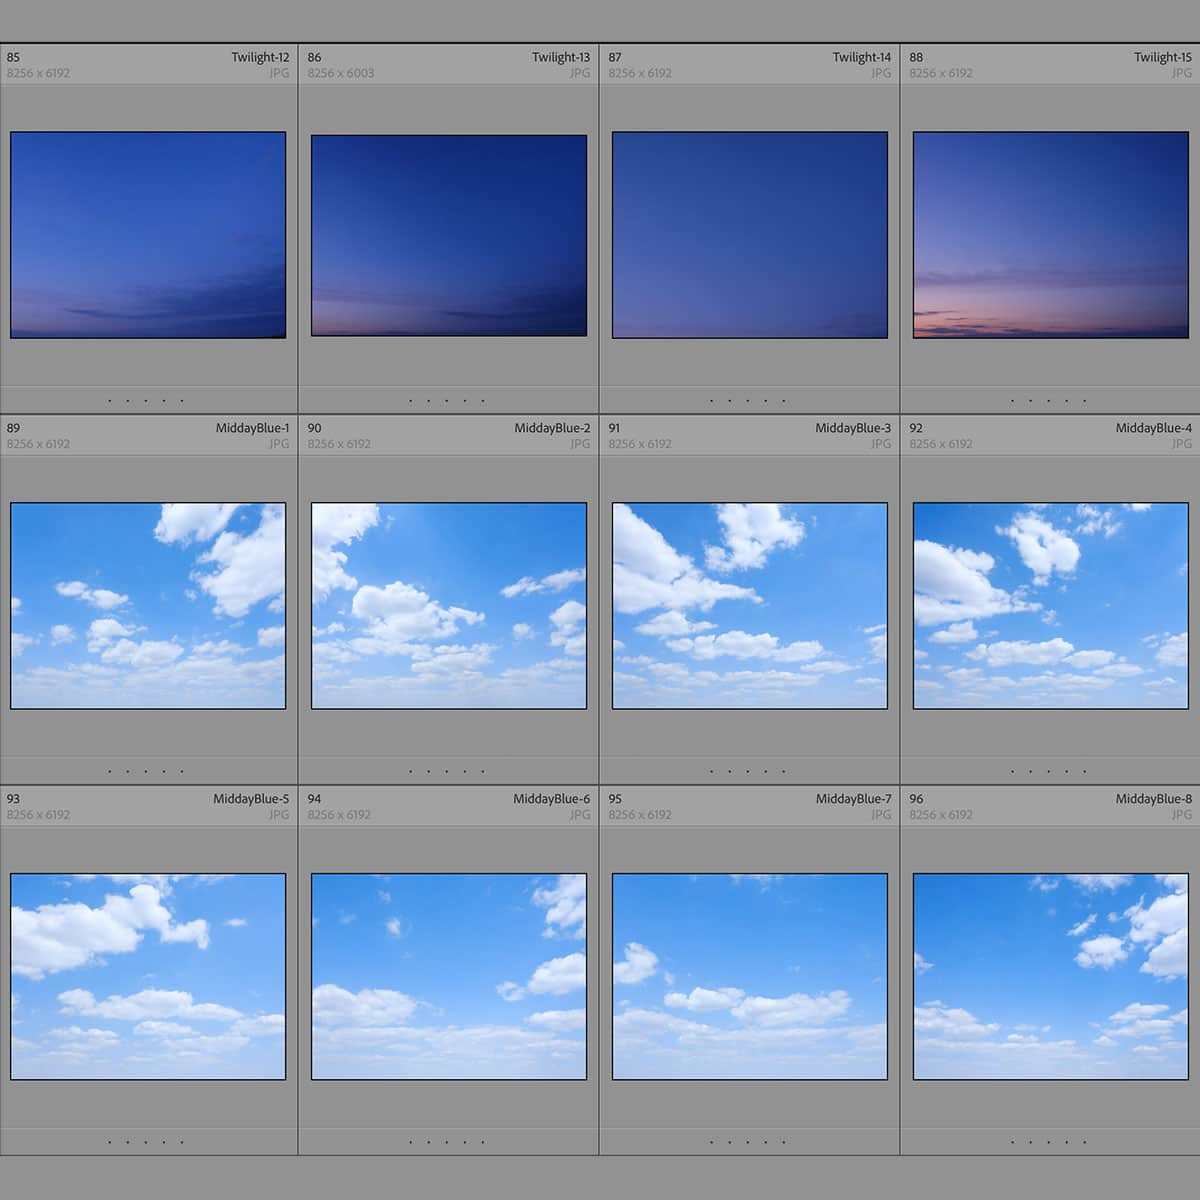
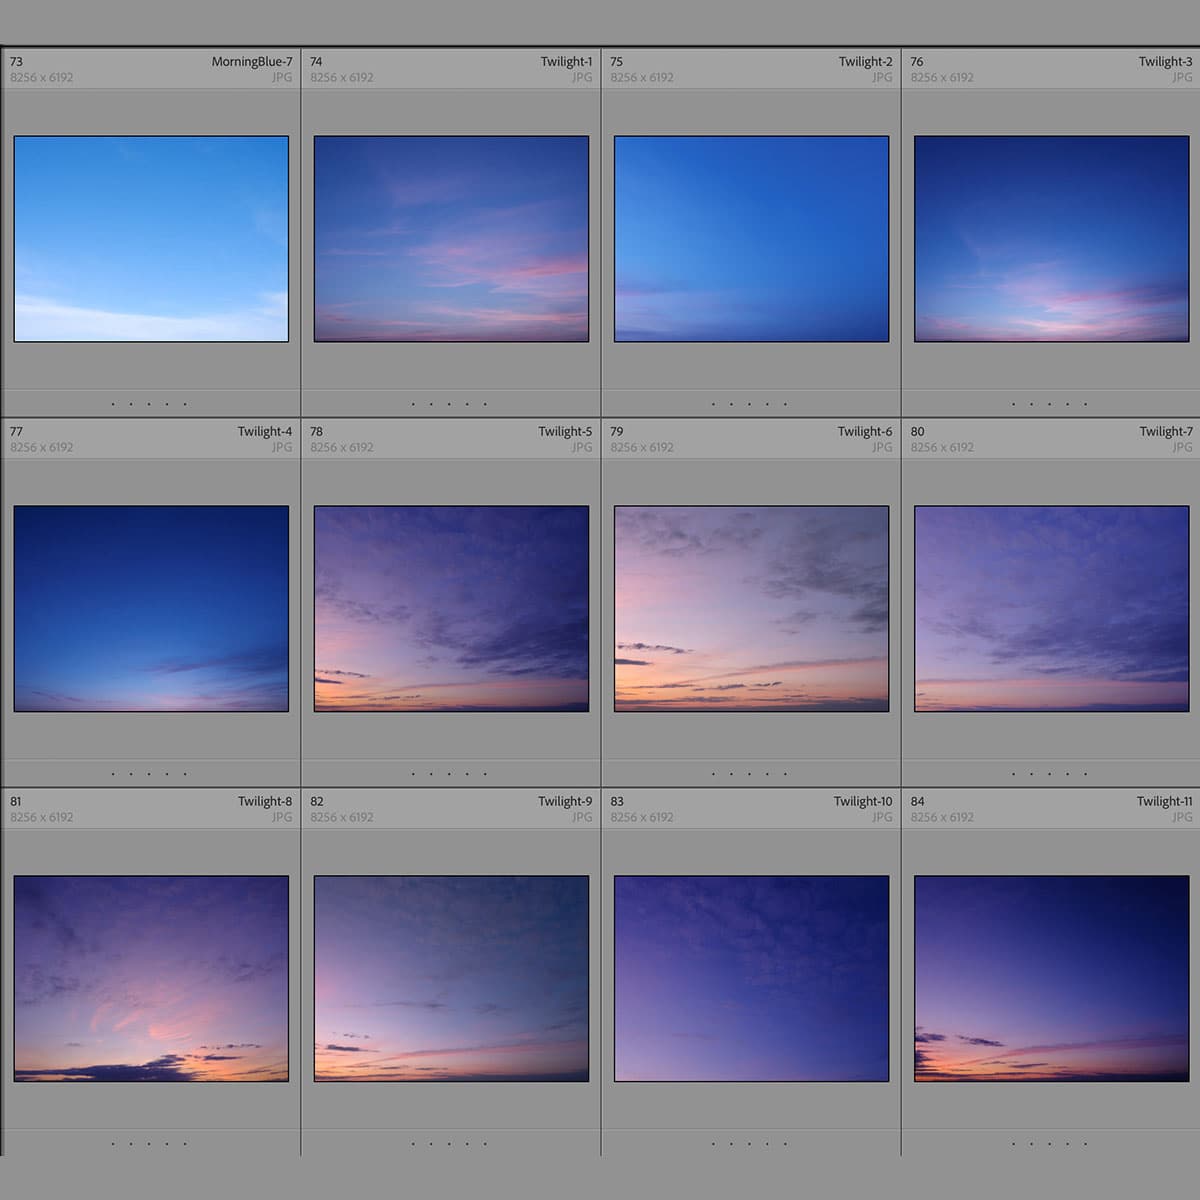
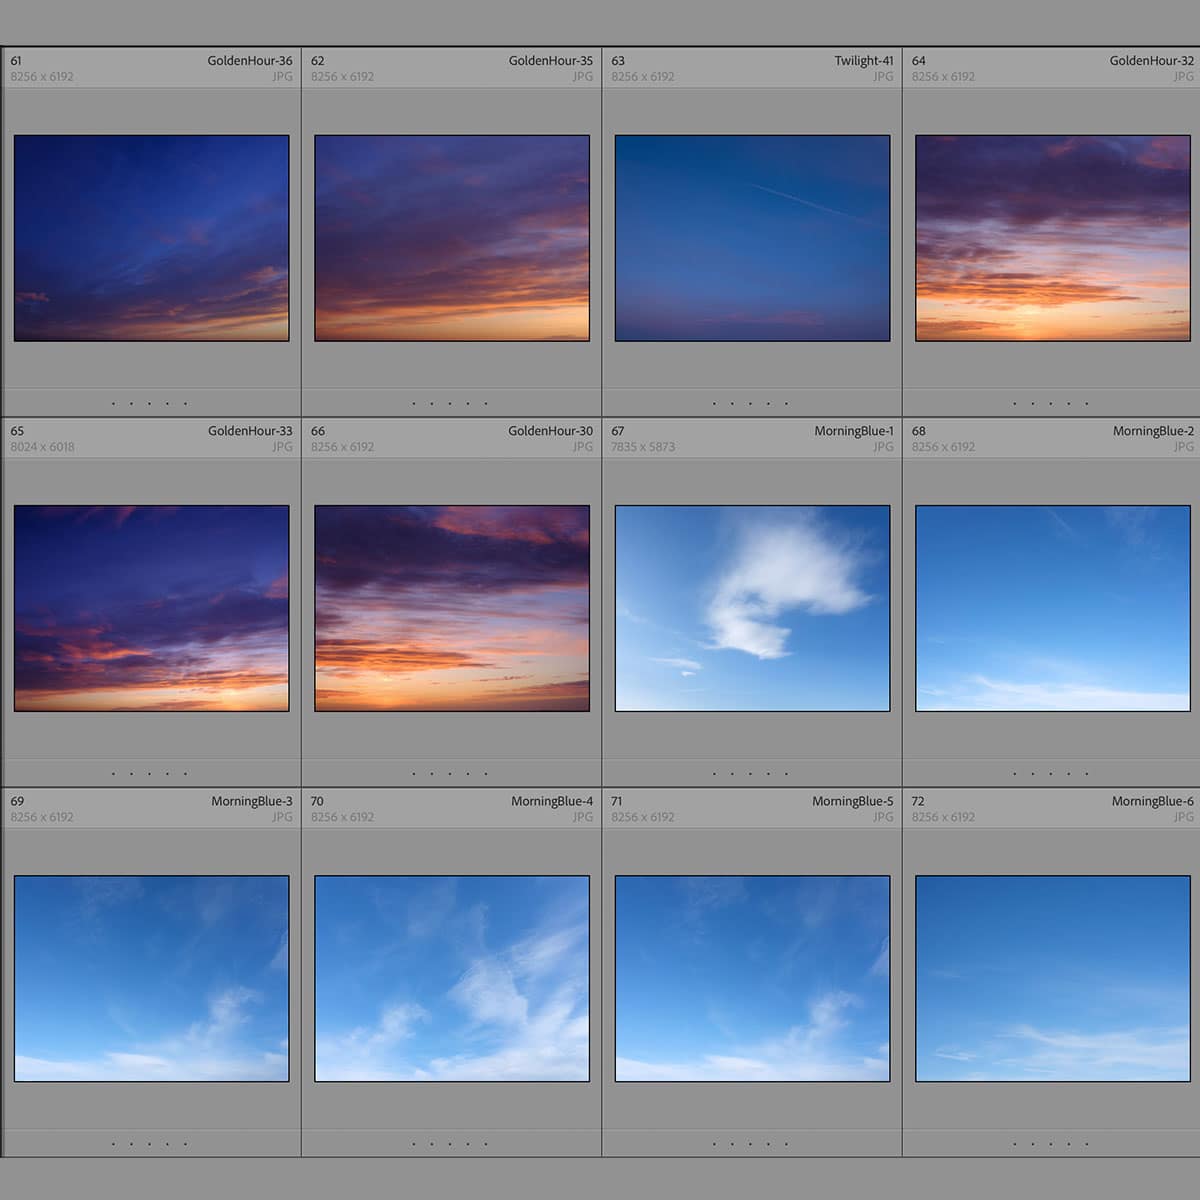
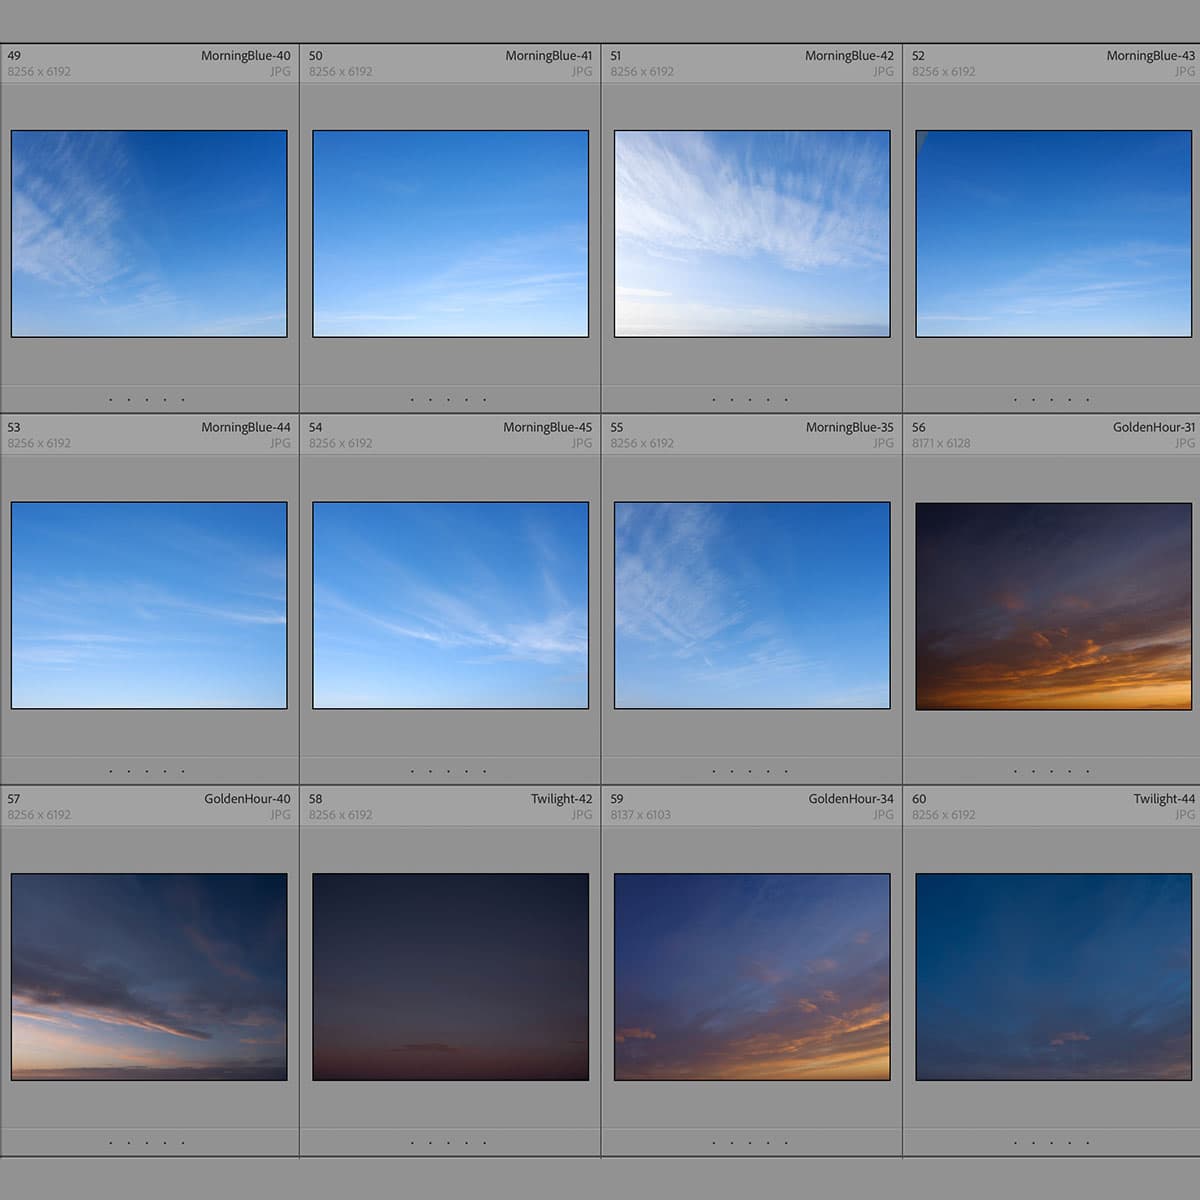
To capture the perfect HDR shot, we need to consider various factors, including the scene, exposure, shutter speed, aperture, and ISO. Let's start by discussing the importance of selecting the right scene. It's best to choose high contrast scenarios, such as landscapes during sunrise or sunset. This provides a dynamic range of light and shadows, which enhances the detailing in our final HDR image.
Regarding exposure and metering, the key is to obtain a correct exposure for each part of the scene and varying lighting conditions. We recommend using auto exposure bracketing (AEB) to achieve this, capturing multiple images at different exposure levels. Ensure that you have at least one underexposed, one correctly exposed, and one overexposed shot. Most cameras allow you to set AEB to take three, five, or even more shots in succession.
Now let's discuss the importance of aperture, shutter speed, and ISO settings in HDR photography. These elements contribute to the overall exposure; however, for the consistency in HDR images, we need to maintain the same aperture settings across all shots. Adjusting only the shutter speed and ISO allows us to create a varied exposure without affecting the depth of field.
Additionally, consider important factors like the camera setup, tripod usage, and shooting in RAW format. In challenging lighting conditions, using a tripod can greatly improve the consistency and sharpness of your images, allowing for better HDR results. Shooting in RAW format ensures maximum flexibility while editing and merging your shots, providing the best quality for your final HDR image.
By following these tips and experimenting with different settings, we can capture stunning HDR shots that bring out the beauty and depth of our chosen scenes. So, grab your camera, head out to a location with high dynamic range conditions, and start practicing HDR photography.
Post-Processing HDR Images
When working with HDR photography, the post-processing stage is crucial to obtain the desired outcome. We recommend using editing software such as Photoshop or Lightroom to get the most control over your images.
RAW format is the best choice for capturing HDR images, as it allows for greater flexibility during post-processing. This format preserves all the data captured by the camera's sensor, providing better control over highlights, shadows, and midtones in the editing process.
When editing your HDR images, there are two main techniques to consider: exposure blending and tone mapping. Exposure blending involves manually merging different exposures of the same scene to create a single image with a wide dynamic range. This can be done using layers and masks in Photoshop, or with specialized tools in Lightroom.
On the other hand, tone mapping is a more automated process that converts the high dynamic range of an HDR image into a lower dynamic range, suitable for display on standard screens. Both techniques have their pros and cons, and you can choose the one that best suits your personal style and needs.
In conclusion, post-processing is an essential step in HDR photography, and tools like Photoshop and Lightroom can greatly enhance your results. By using RAW format and choosing between exposure blending and tone mapping, you can create stunning HDR images that capture the full range of light in a scene.
Frequently Asked Questions
What are the basic steps to create an HDR image?
To create an HDR image, first, set your camera on a tripod to ensure stability. Next, take multiple shots of the same scene at different exposure levels (bracketing). Typically, you would take one overexposed, one underexposed, and one correctly exposed image. Remember to keep the ISO and aperture constant for all shots while changing the shutter speed.
Which camera settings are optimal for HDR photography?
To get the best results in HDR photography, use a low ISO to reduce noise and set the aperture based on the desired depth of field. Utilize exposure bracketing with at least three photos (one correctly exposed, one overexposed, and one underexposed) to capture the full dynamic range. A steady shutter speed of 1/60s or higher is also important to prevent camera shake.
How do you merge multiple exposures in post-processing?
To merge multiple exposures, import the bracketed photos into your preferred HDR software. The software will then align and blend the images to create a single high dynamic range photo. Further adjustments can then be made to fine-tune the final HDR image. Some popular software, like Adobe Lightroom, provide easy-to-use tools for this process.
What are the best software tools for editing HDR photos?
There are several great software tools for editing HDR photos. Examples include Adobe Lightroom with its Photo Merge feature, Adobe Photoshop with Merge to HDR Pro, Luminar Neo HDR Merge, and Photomatix Pro. Each of these programs offers unique features and workflow options, so choosing the right one depends on your individual preferences and requirements.
How can you avoid common issues in HDR photography?
To avoid common issues in HDR photography, ensure proper camera settings, use a tripod for stability, and check for ghosting artifacts caused by subject movement between exposures. Additionally, it's important to avoid over-processing the final image, which can result in an artificial or "cartoonish" appearance. Opt for more subtle adjustments to create a natural-looking result that maintains the scene's realism.
Do professional photographers use HDR techniques in their work?
Yes, many professional photographers use HDR techniques to create stunning images with a high dynamic range that closely resembles the scene as perceived by the human eye. HDR photography is especially popular in landscape, architecture, and interior photography, where capturing intricate details in both bright and dark areas is crucial for a visually compelling final product.


