


By Steve Miller
Mostly, the images we capture pale in comparison to what we “saw” on the dive. There are a couple exceptions to this, where the camera actually captures more than your naked eye. The most obvious is super macro, when the subject is so small that you can see no detail, but the camera shows you things you never dreamed were there, just like shooting through a microscope. But there is another time where the camera can capture details you didn't necessarily see - it just takes some work. We call this HDR (High Dynamic Range) Photography.

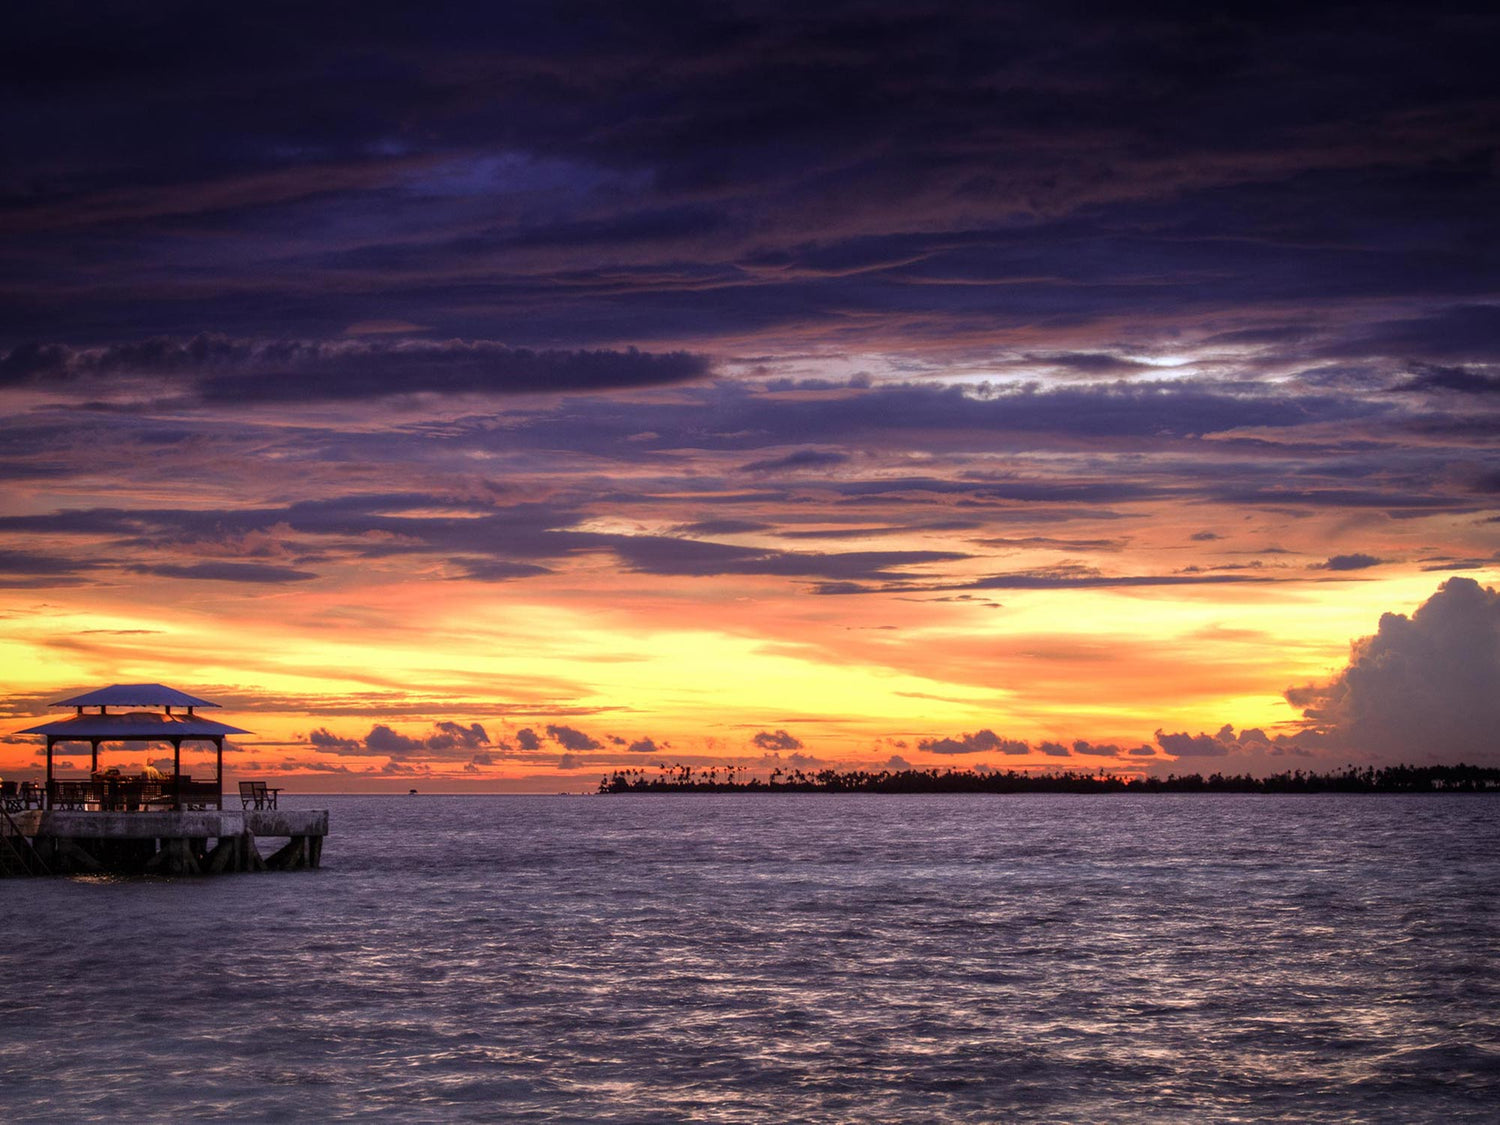
HDR isn't just for sunsets. Note the definition in both the lightest and darkest parts of this image. © 2022 Steve Miller
The Mechanics of HDR
Your eye can read a scene with harsh light or a wide variance in brightness better than your lens - of course. Expensive cameras can capture a wider tonal range than basic cameras - of course. But how much better? Some sources claim the eye can capture 21 stops of dynamic range, and we know some of our cameras can capture 12 or more stops. This sounds close until you consider a “stop” in photography is a doubling or halving of the exposure.
A clever solution to the issue of extending your tonal range is to blend images of the same scene shot at different exposures (light and dark). This post process has evolved from complicated to relatively simple. Ideally, HDR is shot on a tripod so that your frames are exactly the same. Shoot your scene 3 to 5 times and vary the exposure by a half stop or so, this will leave you with the same image properly exposed, then over and under exposed. The next step is to blend these images, which is now just a few clicks in Lightroom.

Lightroom makes merging your images easy. Simply select the images you'd like to use, Right Click and choose Photo Merge > HDR Merge.

On the left is a single image of five that were shot with differing exposures. On the right is the composite version blended in Lightroom. © 2022 Steve Miller
HDR - Underwater?
There hasn’t been much application for HDR underwater for good reasons. Tripods aren't practical and fish won't hold still and therefore show up as “ghosts” in your image (referred to as ghosting). However, this can now be done with most newer cameras.
Many cameras now have some features to make this easier. If you set your camera to “Burst Shoot” and “EV Bracketing” the camera will rattle off three shots of varying exposure to be blended later in Lightroom.
HDR is an excellent solution to the wide tonal ranges we experience, in particular shooting split-shots. It can solve the problem from blown out highlights (the sky) but it wont solve the problem of color loss at depth. This is a scenario where constant on video lights would work better.

Notice the "ghosting" effect the boats on the bottom right have from their subtle movement between images. © 2022 Steve Miller
The Beauty of HDR is in the Eye of the Beholder
There is what some photographers like to call “Bad HDR” out there. This is when the processing has been heavy-handed and very obvious, even unreal. Descriptions like "Painterly" or "Surreal," etc. are used to describe the presets that are applied in some plug-in HDR programs. The HDR process that is built in to Lightroom is much more subtle and natural looking.
Whether you like this style or not, it is fascinating to see what the process can do compared to a single capture. There is a lot to be learned about exposure and tonal range from experimenting. A great place to start is with sunsets, the detail in the sky is often lost in the capture because the tonal range is so wide. Even if you don't wind up using the image, it's a lesson in how much you can draw out of each file. So next time you're on a dive trip or just hanging out in your backyard at the end of the day, grab your camera, a tripod, and get dynamic!

Don't limit your photographic practice to special places or events, backyard sunsets are the perfect place to start experimenting. © 2022 Steve Miller
 Ambassador Steve Miller has been a passionate teacher of underwater photography since 1980. In addition to creating aspirational photos as an ambassador, he leads the Ikelite Photo School, conducts equipment testing, contributes content and photography, represents us at dive shows and events, provides one-on-one photo advice to customers, and participates in product research and development. Steve also works as a Guest Experience Manager for the Wakatobi Dive Resort in Indonesia. In his "free" time he busies himself tweaking his very own Backyard Underwater Photo Studio which he's built for testing equipment and techniques. Read more...
Want the easy way to improve your underwater photography? Sign up for our weekly newsletter for articles and videos directly in your inbox every Friday:
Additional Reading
Super Macro Underwater Photography Techniques
How to Shoot Split Shots (Half-In, Half-Out of the Water)
Getting it Sharp: Back Button Focus and Post Processing Workflow
Underwater Photo Editing: Trash to Treasure Using Lightroom [VIDEO]
![How to Change a Background in Adobe Express [VIDEO]](http://www.ikelite.com/cdn/shop/articles/Adobe_Background_Tutorial.jpg?v=1663260997&width=2001)